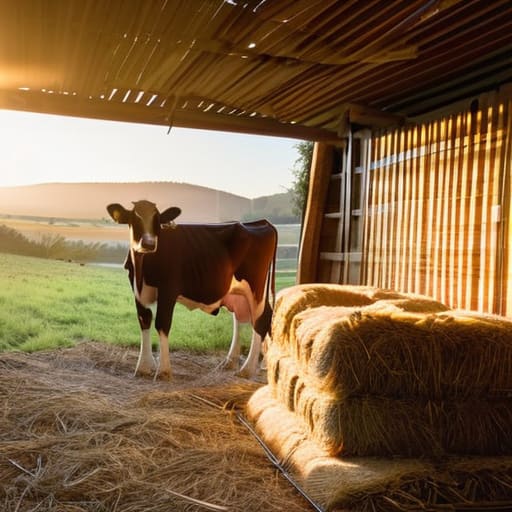
I’ve spent half my life watching salesmen in clean fleece jackets try to convince me that the secret to a successful spring is a new brand of high-tech calving teat or some fancy digital monitoring system that costs more than a decent heifer. They make it sound like a science experiment, but if you ask me how to prepare for calving season, the answer isn’t found in a glossy brochure; it’s found in the mud, the bedding, and your bank balance. I remember back in ’98, after a particularly wet winter, I’d spent a small fortune on “premium” nutritional supplements only to realize I’d neglected the simple fact that my calving pens were a slip hazard waiting to happen.
I’m not here to sell you a subscription or a miracle cure. What I’m going to do is walk you through the practicalities of what actually matters when the temperature drops and the cows start looking restless. We’ll talk about the kit that actually stays in the shed, the ground conditions that’ll make or break your margins, and how to ensure you aren’t bleeding cash on things that don’t move the needle. This is about the hard numbers and the reality of keeping a herd profitable, not the marketing fluff.
Table of Contents
Understanding How to Prepare for Calving Season
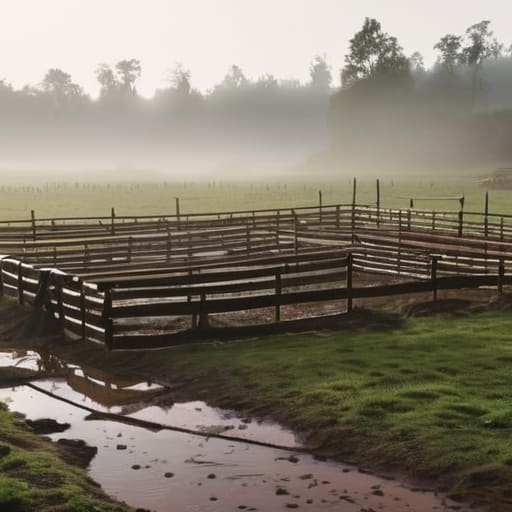
You can buy all the fancy gadgets in the world, but if you haven’t looked at your ground, you’re already behind. Before you even think about your calving kit essentials, you need to be walking those fields. If the drainage is poor and the ground is a bog, your maternity pens will turn into a mud bath that invites infection before the calf has even taken its first breath. I’ve seen too many lads focus on the brand of disinfectant they’re using while ignoring the fact that their cow maternity pen setup is sitting in a hollow that collects every bit of runoff from the hill.
Once you’ve sorted the ground, it’s about the inventory. Don’t be the one standing in the dark at 3:00 AM realizing you’ve run out of iodine or that your torch has a dying battery. A proper calving season checklist for farmers isn’t about ticking boxes for a consultant; it’s about making sure you aren’t making expensive mistakes when the pressure is on. You need to know exactly where your livestock birthing supplies are kept and, more importantly, that they actually work. If it’s been sitting in the shed since last year, test it now.
Key Things to Know
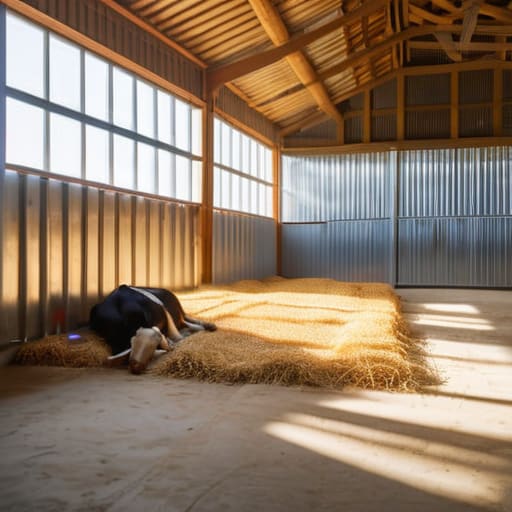
First off, stop looking at the glossy brochures for the latest automated tech and look at your shed floor instead. You can have the most expensive livestock birthing supplies money can buy, but if your maternity pens are a muddy, uneven mess, you’re just buying a front-row seat to a disaster. I’ve seen more money lost to a heifer slipping on a bad floor than to almost any actual disease. A proper cow maternity pen setup isn’t about luxury; it’s about dry, level ground where a cow can lie down without feeling like she’s in a bog.
Then there’s the kit. Don’t go running to the co-op on a Tuesday night in February because you realized you’ve run out of iodine or colostrum replacer. Build a proper calving season checklist for farmers—one that actually works for your specific setup—and stick to it. I’ve spent too many nights chasing a weak calf because I didn’t have the right tools within arm’s reach. It isn’t about being fancy; it’s about having the right gear at your fingertips before the first contraction starts.
Practical Tips and Steps
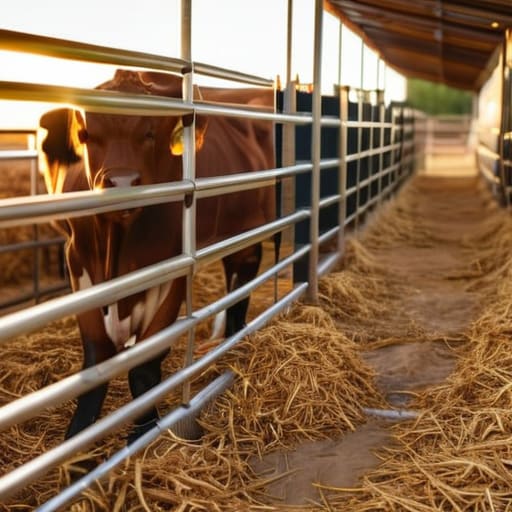
First, let’s talk about the shed. You can have the best genetics in the county, but if your cow maternity pen setup is a mud pit or a death trap of uneven concrete, you’re already losing money. I’ve seen too many lads spend a fortune on high-spec bulls only to have a heifer slip and break a leg because they couldn’t be bothered to check the bedding. Get your eyes on the floor; it needs to be dry, level, and easy to clean. If you’re setting up pens, make sure they are wide enough that a cow doesn’t feel boxed in, but tight enough that she isn’t wandering off into a corner where she can’t get her footing.
When it comes to the actual gear, don’t go buying every shiny gadget in the catalog. Most of it is marketing fluff. Stick to a solid calving season checklist for farmers that focuses on the basics: clean colostrum supplies, iodine, and decent lighting. I’ve learned the hard way that managing newborn calves effectively starts with having your livestock birthing supplies within arm’s reach before the first contraction hits. If you’re fumbling in the dark for a pair of gloves or a clean towel, you’ve already missed the window to prevent a problem.
Common Mistakes to Avoid
The biggest mistake I see is the “wait and see” approach to your kit. There is nothing quite as expensive as standing in a cold shed at three in the morning, realizing the colostrum replacer you thought you had is actually empty, or that your thermometer has no batteries. People spend a fortune on fancy supplements but skimp on the basic calving kit essentials that actually keep a calf alive. If you haven’t physically laid out your livestock birthing supplies on the floor to ensure they’re all there and working, you aren’t prepared; you’re just hoping for the best. And hope is a poor substitute for a working plan when the margins are this tight.
Then there is the matter of the environment. I’ve seen too many lads rush into a cow maternity pen setup that’s nothing more than a muddy corner with a bit of straw. If the ground is a bog, you aren’t just risking a slip; you’re inviting infection. Poor hygiene in the calving area is the fastest way to find yourself fighting a losing battle with neonatal diseases. You can have the best genetics in the county, but if you don’t get the bedding and the footing right, you’re essentially throwing money into a puddle.
Final Thoughts
At the end of the day, you can have the most expensive calving kit essentials money can buy sitting in the shed, but they won’t mean a damn thing if you haven’t accounted for the weather or the state of your fences. I’ve seen plenty of men spend a fortune on fancy gadgets only to lose a heifer because they forgot to check the drainage in the maternity paddock. It’s not about the shine on the equipment; it’s about the readiness of the ground and having the sense to act before the crisis hits.
Don’t let the paperwork or the sheer scale of the season overwhelm you. If you’ve gone through a proper calving season checklist for farmers—one that actually focuses on the basics like nutrition, shelter, and clean bedding—then you’re already ahead of most. My advice is to keep your eyes on the margins and your boots on the ground. If you manage the environment well, the rest of the season usually finds its own rhythm. Just remember: cash flow follows good husbandry, not the other way around.
Five things that actually matter when the thermometer drops
- Check your footing before you check your medicine cabinet. I’ve seen more money lost to a cow slipping on a poorly maintained concrete yard than I have to almost any pathogen. If your sheds are slick or your walkways are a mess of muck and stone, you aren’t ready for calving, no matter how many antibiotics you’ve got lined up.
- Stop looking at the pedigree and start looking at the forage. A fancy heifer is a liability if she hasn’t got the condition to carry a calf through a wet spring. You need to know exactly what’s in those troughs and how much grass is actually available in the field; if you can’t calculate your feed margin by eye, you’re flying blind.
- Audit your kit, but don’t buy the shiny stuff. Go through your calving box, your teat dip, and your lighting. If that expensive new automated feeder is sitting in the yard gathering rust because you forgot to check the voltage, you’ve just thrown cash into a hole. If it isn’t working today, it won’t work at 3:00 AM in a freezing rainstorm.
- Get your records out of the computer and into your head. I don’t care how good your software is; you need to know which cows are prone to trouble and which ones have a history of poor temperament. When the pressure is on, you don’t want to be scrolling through a screen trying to remember if cow 402 struggled last year.
- Watch the cash flow, not just the cattle. Calving season is when the bank account takes its hardest hit before you see a single penny of return. Make sure you’ve accounted for the cost of the extra labor, the extra feed, and the inevitable repairs. If your math only accounts for the cost of the calf and not the cost of the environment it’s born into, you’re in for a shock.
The Bottom Line on Calving Prep
If your kit isn’t tested and your shed isn’t sorted before the first heifer shows signs, you aren’t just risking a calf; you’re inviting an expensive, frantic mess that’ll eat your margins alive.
Stop looking at the pedigree papers for a moment and look at the ground and the weather; if your calving area is a bog, no amount of fancy management is going to save your profit or your feet.
Watch your cash flow like a hawk by only buying what you actually need for the season—half the gadgets sitting in my shed right now were bought on a whim and haven’t earned their keep since they left the shop.
The Bottom Line Before the First Calf
At the end of the day, preparing for calving isn’t about having the most expensive calving kit or the newest tractor sitting in the yard; it’s about ensuring your infrastructure and your cash flow are ready for the hit. You’ve looked at the ground, you’ve checked the sheds, and you’ve hopefully audited that pile of “essential” gear you bought last autumn to see what’s actually going to work when it’s three in the morning and raining sideways. If your pens are sound, your medicine is in date, and your margins are calculated on reality rather than hope, you’ve done more than most. Remember, a well-prepared farm is one where you aren’t chasing problems that could have been spotted in a quiet field back in November.
There will always be something that goes wrong—that is the nature of the beast we’ve chosen to live with. A heifer will struggle, a gate will snap, or the weather will turn foul just when you need it to stay dry. But if you have the fundamentals right—the grass, the feet, and the finances—you won’t be broken by the small stuff. Farming is a long game of managing the inevitable, and if you approach this season with your eyes wide open and your wits about you, you’ll come out the other side with your herd, and your bank balance, intact.
Frequently Asked Questions
How do I work out if my current forage stocks will actually carry the cows through to weaning without me having to buy in expensive concentrates at the wrong time?
You don’t start with a calculator; you start by walking the fields and looking at the sky. If you haven’t accounted for a wet spring or a dry summer, your math is a fantasy. Map your hectares, estimate your dry matter, and then subtract twenty percent for the inevitable reality of weather and wastage. If that number doesn’t cover the cows until weaning, stop looking at brochures and start looking at your grass.
When looking at new calving kit, how do I tell the difference between something that'll actually save me time and something that's just going to end up gathering dust in the corner of the shed?
If it doesn’t solve a problem you face every single Tuesday at 3:00 AM, leave it on the showroom floor. I’ve got a shed full of “revolutionary” gadgets that only work if the weather is perfect and the cow is cooperative. Before you tap your card, ask yourself: does this tool work when my hands are freezing, the ground is a bog, and I’m running on four hours of sleep? If the answer is “maybe,” it’s junk.
At what point does the cost of treating a single case of lameness or a bad infection outweigh the benefit of pushing for a higher calving percentage?
It’s a simple bit of math that most people overcomplicate. You push for that extra 5% calving rate, but if it costs you one vet call-out, a week of lost labor, and a heifer that’s too lame to walk to market, you’ve already wiped out the profit from three other calves. Once the cost of the intervention—and the time you spend chasing it—exceeds the margin on a saleable calf, you’re just subsidizing mistakes.
